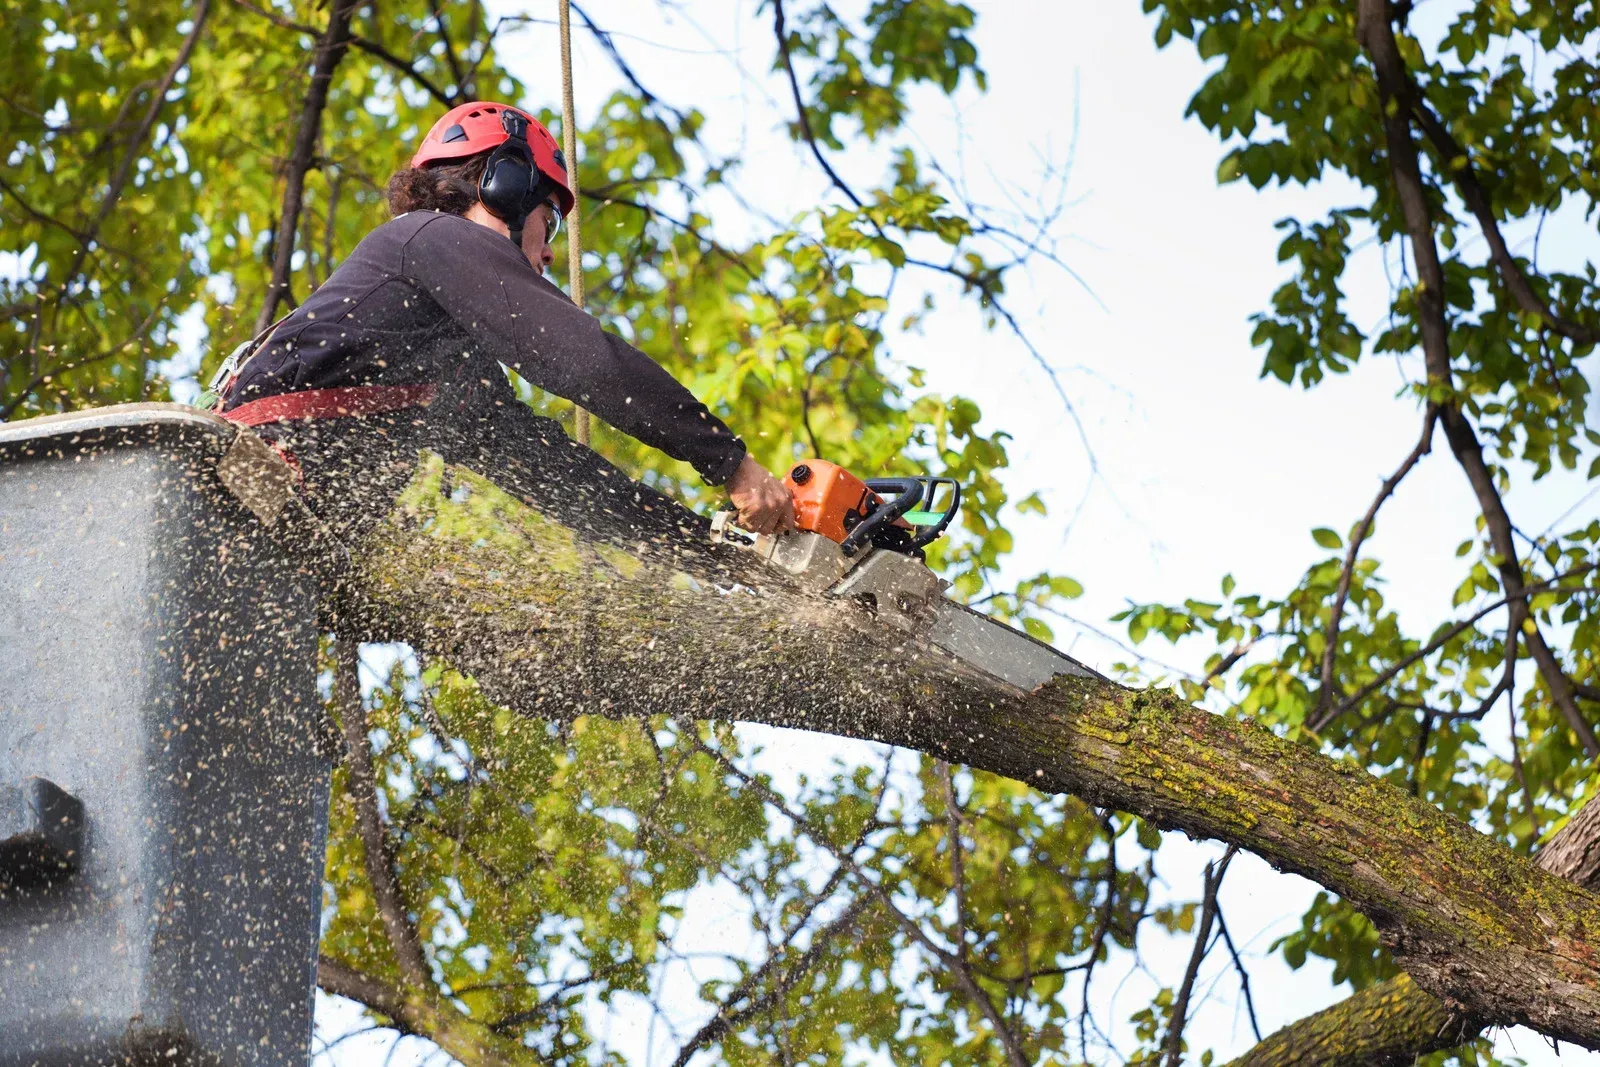
Trees transform our landscapes, providing shade, beauty, and environmental benefits. Proper care throughout the year ensures they stay strong and vibrant. Here’s a seasonal guide to the fundamentals of tree maintenance, with expert techniques you can use year-round.
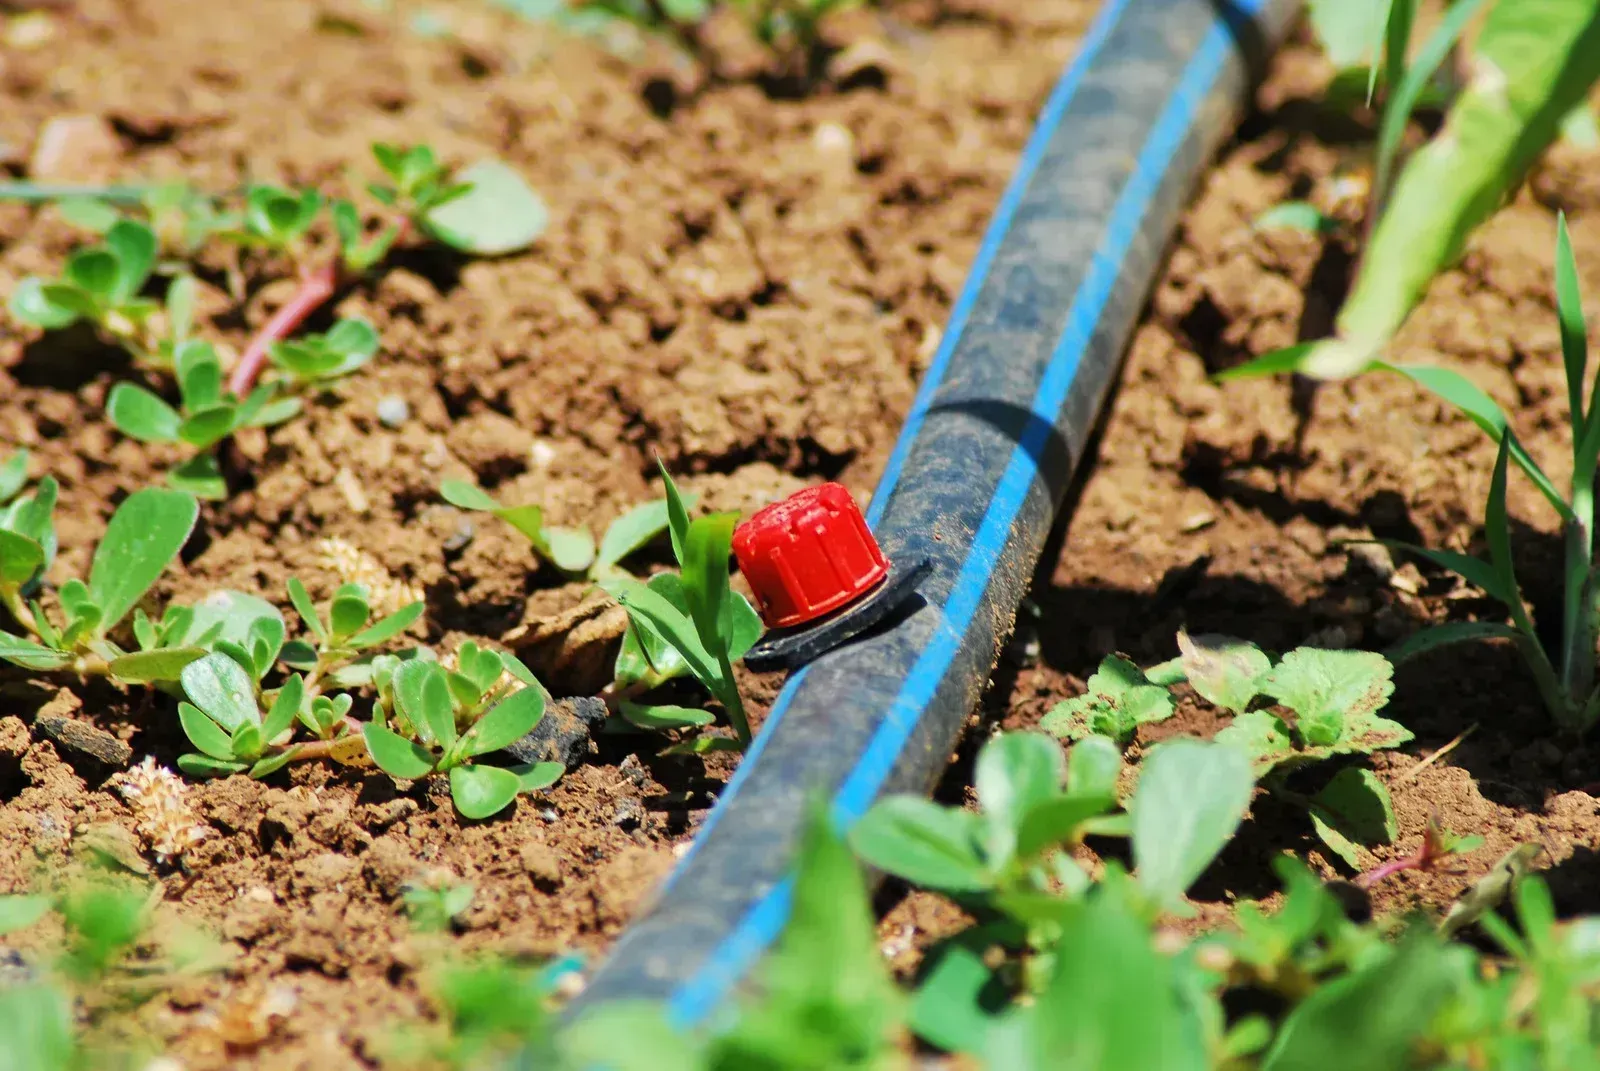
Drip irrigation systems are one of the most efficient ways to water your landscape, especially in hot and dry climates like Mesa, Arizona. However, like any system, they don’t last forever.